基于JavaScript实现弹幕特效
更新时间:2020年08月27日 13:55:32 作者:01-01
这篇文章主要为大家详细介绍了基于JavaScript实现弹幕特效,文中示例代码介绍的非常详细,具有一定的参考价值,感兴趣的小伙伴们可以参考一下
本文实例为大家分享了js实现弹幕特效的具体代码,供大家参考,具体内容如下
此处使用HBuilder编译,最简单的弹幕效果,希望各位前辈不吝指教。
注意用的是jquery-2.0.3.js
<!DOCTYPE html>
<html>
 <head>
 <meta charset="utf-8" />
 <title></title>
 </head>

 <style type="text/css">
 *{
 padding: 0;
 margin: 0;
 }
 .shooter{
 width: 600px;
 height: 60px;
 /*background: black;*/
 margin: 0 auto;
 }
 .shooter input{
 width: 300px;
 height: 40px;
 border: none;
 border-radius: 7px;
 box-shadow: 0 0 8px rgba(182,195,214,0.6)inset;
 padding-left: 15px;
 margin-top: 10px;
 }
 .shooter button{
 width: 80px;
 height: 40px;
 border: none;
 margin-left: 10px;
 background-color:#339B53;
 border-radius:8px;
 color: white;
 cursor: pointer;
 }

 .shooter button:hover{
 font-size: 14px;
 background:#008000;
 }
 .content{
 width: 100%;
 height: 600px;
 background: gray;
 position: relative;
 overflow: hidden;
 }

 .bullet{
 position: absolute;
 /*right: 0;*/
 /*left:1600px;*/
 word-break: keep-all;
 /*不让单词折行*/


 }

 </style>

 <body>
 <div class="shooter">

 <input type="text"/>
 <button>发射</button>

 </div>
 <div class="content">

 </div>
 <script type="text/javascript" src="js/jquery-2.0.3.js" ></script>

 <script type="text/javascript">
 $("button").click(function(){

 var msg = $("input").val();
 //取出输入框内容

 if(msg.length > 15){

  alert("字数不得超过15个!");
  return;
 }

 var bullet = $("<div>");
 //生成一条弹幕
 bullet.text(msg);
 //将输入框内容放置到div中
 bullet.addClass("bullet");
 //为bullet这个div添加样式bullet
 bullet.css("top",Math.round(Math.random()*500));
 //随机设置弹幕位置
 bullet.css("left","1600px");
 bullet.css("font-size",Math.round(Math.random()*60)+12+"px");
 bullet.css("color","rgb("+Math.round(Math.random()*255)+","+Math.round(Math.random()*255)+","+Math.round(Math.random()*255)+")");
// alert(window.getComputedStyle(bullet,null).width);
 bullet.animate({
  left:-1000//此处视为bug,应该随着弹幕的长短而变化
 },Math.round(Math.random()*9000)+1000,"linear", function(){
  bullet.remove();
  //当运动结束时,删除弹幕
 });

 $(".content").append(bullet);
 //将弹幕添加到屏幕中


 });
 </script>
 </body>
</html>
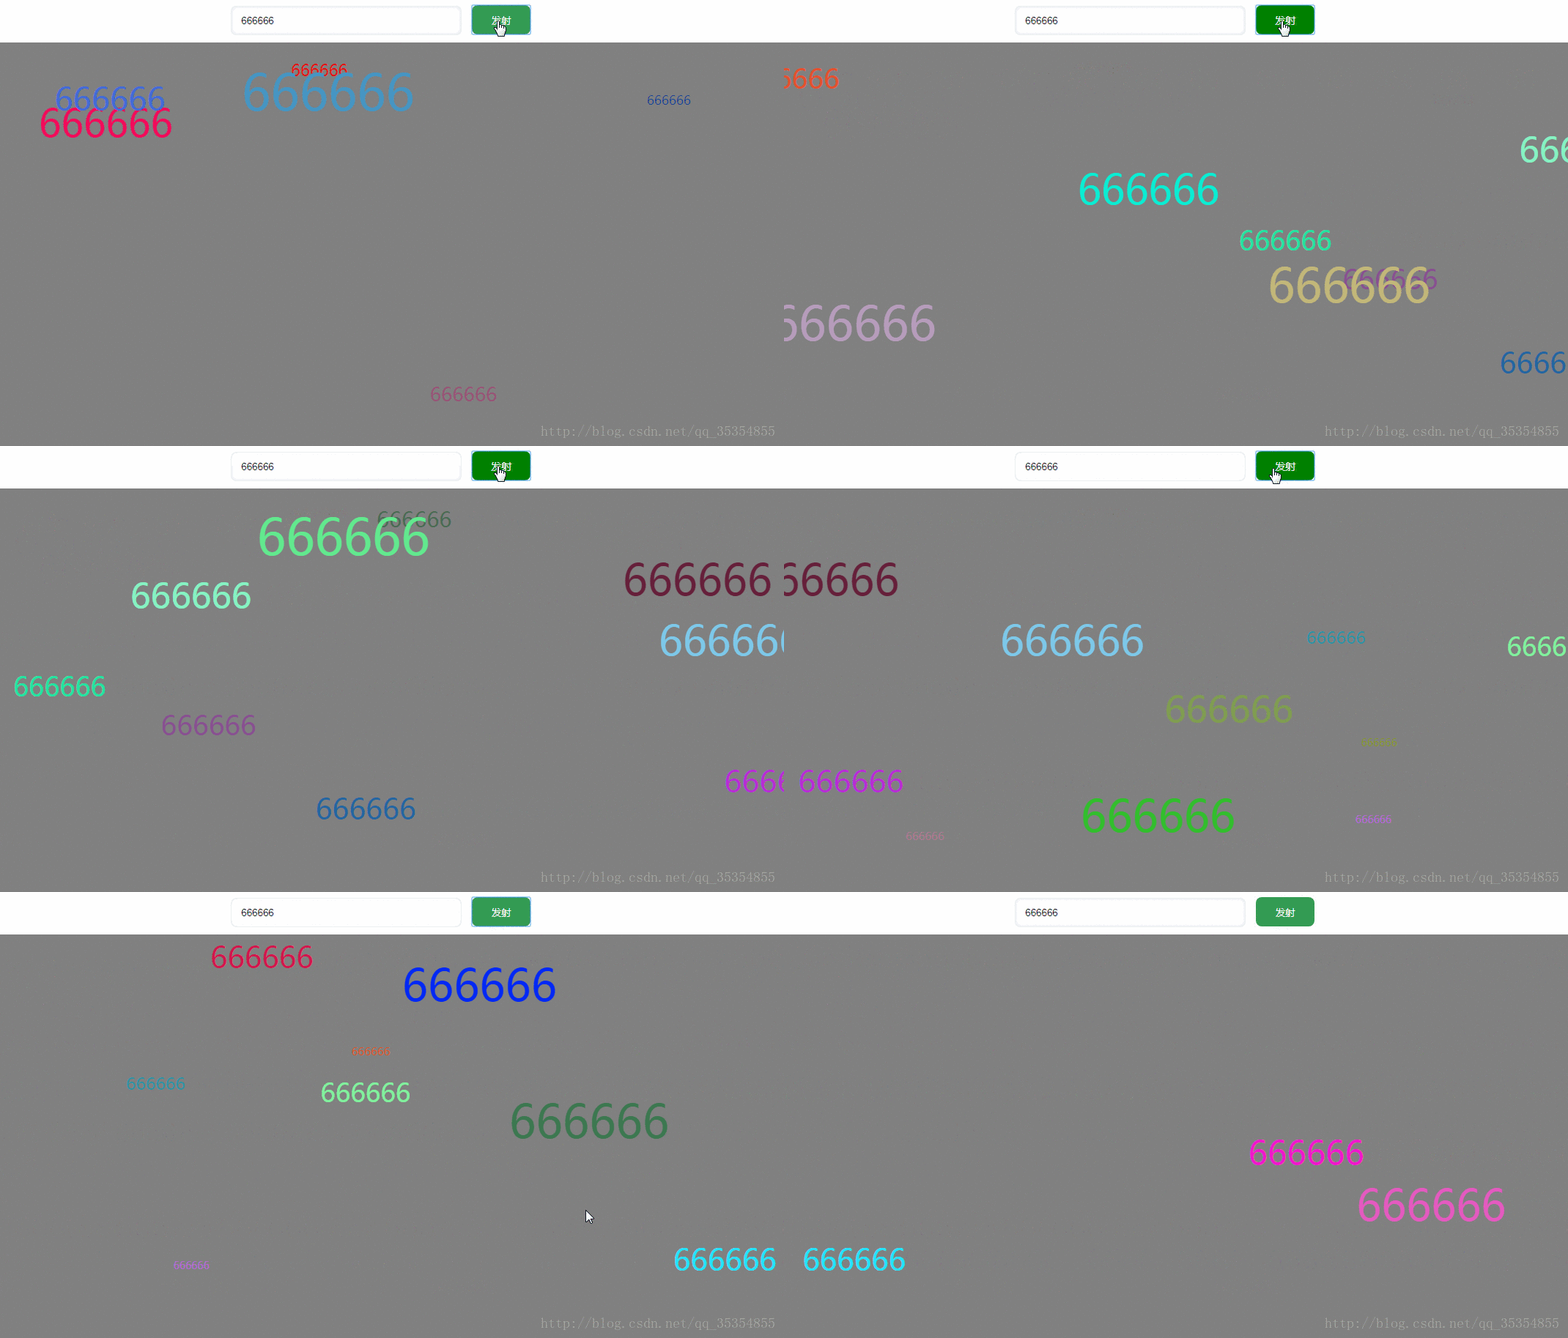
下面是展示的弹幕效果(显示的白线在谷歌浏览器中是看不出来的,在录制时会看出来,此处又一bug):

以上就是本文的全部内容,希望对大家的学习有所帮助,也希望大家多多支持脚本之家。
相关文章

javascript使用location.search的示例
本文介绍javascript 使用location.search获取当前地址栏参数的实例2013-11-11


最新评论