iOS使用UIScrollView实现无限循环轮播图效果
更新时间:2018年07月22日 09:09:15 作者:Leemin_ios
这篇文章主要介绍了iOS使用UIScrollView实现无限循环轮播图效果,文中示例代码介绍的非常详细,具有一定的参考价值,感兴趣的小伙伴们可以参考一下
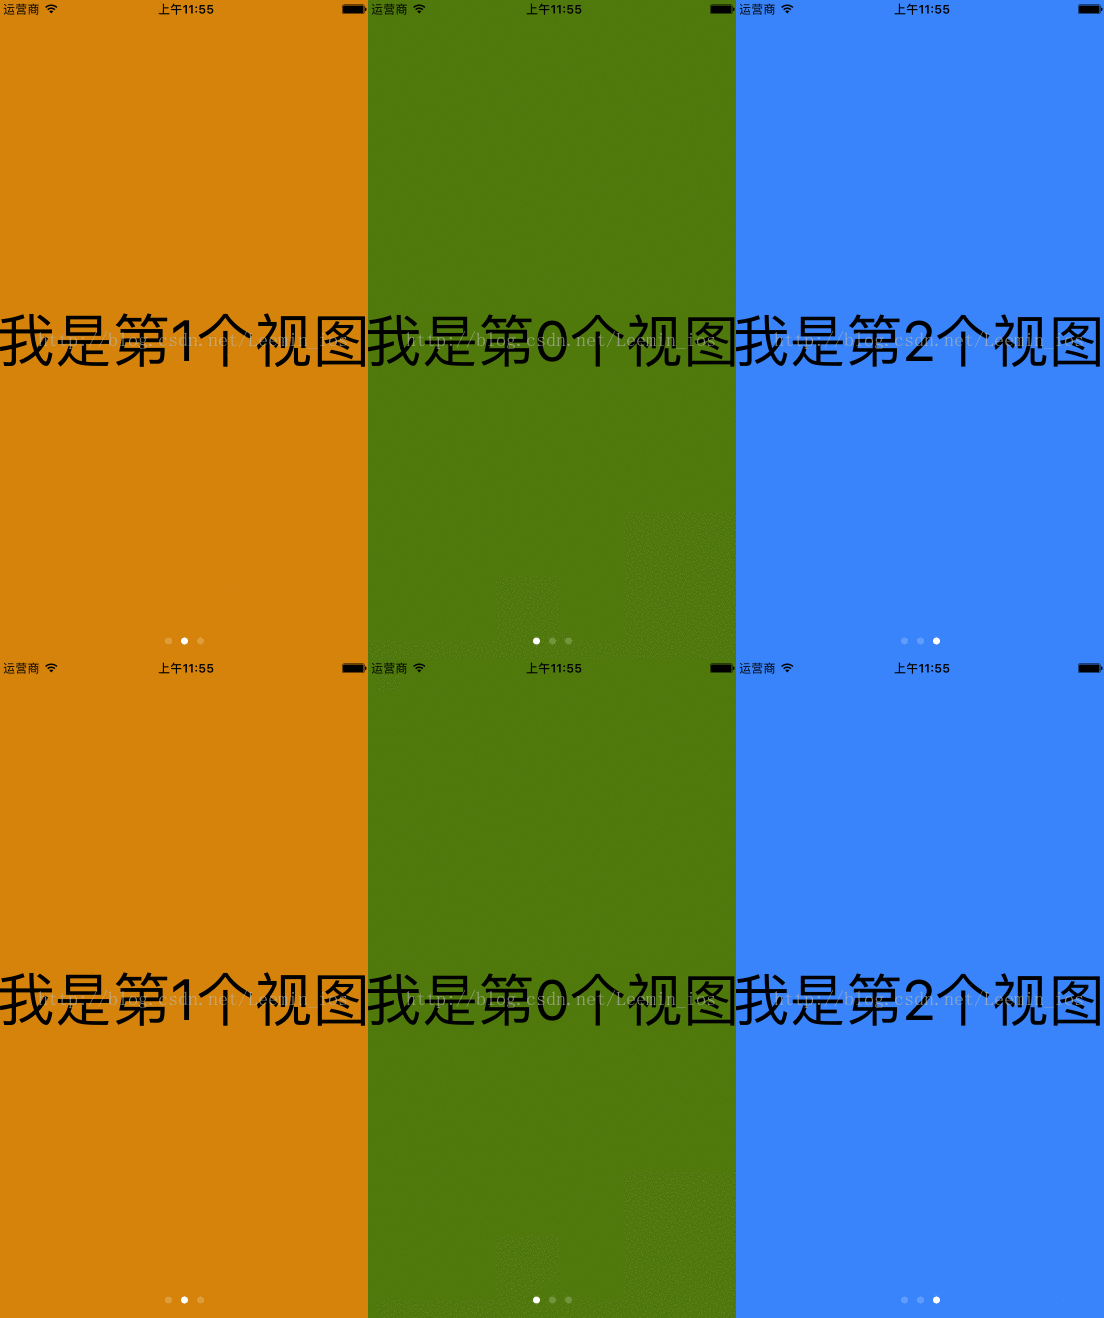
本文实例为大家分享了iOS使用UIScrollView实现无限循环轮播图的具体代码,供大家参考,具体内容如下

代码:
//
// ViewController.m
// 无限轮播
//
// Created by limin on 17/8/23.
// Copyright © 2017年 none. All rights reserved.
//

#import "ViewController.h"

@interface ViewController ()<UIScrollViewDelegate>
/* 定时器 */
@property(nonatomic,strong)NSTimer *rotateTimer;
/* */
@property(nonatomic,strong)UIPageControl *myPageControl;
@end

@implementation ViewController

- (void)viewDidLoad {
 [super viewDidLoad];
 //初始化scroolview大小为屏幕大小
 UIScrollView *rotateScrollView = [[UIScrollView alloc]initWithFrame:self.view.frame];
 //设置滚动范围
 rotateScrollView.contentSize = CGSizeMake(CGRectGetWidth(self.view.frame)*3, CGRectGetHeight(self.view.frame));
 //设置分页效果
 rotateScrollView.pagingEnabled = YES;
 //水平滚动条隐藏
 rotateScrollView.showsHorizontalScrollIndicator = NO;
 //添加三个子视图,uilabel类型
 for (int i=0; i<3; i++) {
 UILabel *subLabel = [[UILabel alloc] initWithFrame:CGRectMake(CGRectGetWidth(self.view.frame)*i, 0, CGRectGetWidth(self.view.frame), CGRectGetHeight(self.view.frame))];
 subLabel.tag = 1000+i;
 subLabel.text = [NSString stringWithFormat:@"我是第%d个视图",i];
 [subLabel setFont:[UIFont systemFontOfSize:80]];
 subLabel.adjustsFontSizeToFitWidth = YES;
 [subLabel setBackgroundColor:[UIColor colorWithRed:arc4random()%256/255.0 green:arc4random()%256/255.0 blue:arc4random()%256/255.0 alpha:1.0]];
 [rotateScrollView addSubview:subLabel];

 }
 UILabel *tempLabel = [rotateScrollView viewWithTag:1000];
 //为滚动视图的右边添加一个视图,使得它和第一个视图一模一样。
 UILabel *label = [[UILabel alloc]initWithFrame:CGRectMake(CGRectGetWidth(self.view.frame)*3, 0, CGRectGetWidth(self.view.frame), CGRectGetHeight(self.view.frame))];
 label.backgroundColor = tempLabel.backgroundColor;
 label.text = tempLabel.text;
 label.font = tempLabel.font;
 label.adjustsFontSizeToFitWidth = YES;
 [rotateScrollView addSubview:label];
 [self.view addSubview:rotateScrollView];
 rotateScrollView.tag = 1000;
 self.myPageControl = [[UIPageControl alloc]initWithFrame:CGRectMake(0, CGRectGetHeight(self.view.frame)-50, CGRectGetWidth(self.view.frame), 50)];
 self.myPageControl.numberOfPages = 3;
 self.myPageControl.currentPage = 0;
 [self.view addSubview:self.myPageControl];

 //启动定时器
 self.rotateTimer = [NSTimer scheduledTimerWithTimeInterval:1.0 target:self selector:@selector(changeView) userInfo:nil repeats:YES];
 //为滚动视图指定代理
 rotateScrollView.delegate = self;
}

#pragma mark -- 滚动视图的代理方法
//开始拖拽的代理方法,在此方法中暂停定时器。
-(void)scrollViewWillBeginDragging:(UIScrollView *)scrollView{
 NSLog(@"正在拖拽视图,所以需要将自动播放暂停掉");
 //setFireDate:设置定时器在什么时间启动
 //[NSDate distantFuture]:将来的某一时刻
 [self.rotateTimer setFireDate:[NSDate distantFuture]];
}

//视图静止时(没有人在拖拽),开启定时器,让自动轮播
- (void)scrollViewDidEndDecelerating:(UIScrollView *)scrollView{
 //视图静止之后,过1.5秒在开启定时器
 //[NSDate dateWithTimeInterval:1.5 sinceDate:[NSDate date]] 返回值为从现在时刻开始 再过1.5秒的时刻。
 NSLog(@"开启定时器");
 [self.rotateTimer setFireDate:[NSDate dateWithTimeInterval:1.5 sinceDate:[NSDate date]]];
}


//定时器的回调方法 切换界面
- (void)changeView{
 //得到scrollView
 UIScrollView *scrollView = [self.view viewWithTag:1000];
 //通过改变contentOffset来切换滚动视图的子界面
 float offset_X = scrollView.contentOffset.x;
 //每次切换一个屏幕
 offset_X += CGRectGetWidth(self.view.frame);

 //说明要从最右边的多余视图开始滚动了,最右边的多余视图实际上就是第一个视图。所以偏移量需要更改为第一个视图的偏移量。
 if (offset_X > CGRectGetWidth(self.view.frame)*3) {
 scrollView.contentOffset = CGPointMake(0, 0);

 }
 //说明正在显示的就是最右边的多余视图,最右边的多余视图实际上就是第一个视图。所以pageControl的小白点需要在第一个视图的位置。
 if (offset_X == CGRectGetWidth(self.view.frame)*3) {
 self.myPageControl.currentPage = 0;
 }else{
 self.myPageControl.currentPage = offset_X/CGRectGetWidth(self.view.frame);
 }

 //得到最终的偏移量
 CGPoint resultPoint = CGPointMake(offset_X, 0);
 //切换视图时带动画效果
 //最右边的多余视图实际上就是第一个视图,现在是要从第一个视图向第二个视图偏移,所以偏移量为一个屏幕宽度
 if (offset_X >CGRectGetWidth(self.view.frame)*3) {
 self.myPageControl.currentPage = 1;
 [scrollView setContentOffset:CGPointMake(CGRectGetWidth(self.view.frame), 0) animated:YES];
 }else{
 [scrollView setContentOffset:resultPoint animated:YES];
 }

}

- (void)didReceiveMemoryWarning {
 [super didReceiveMemoryWarning];
 // Dispose of any resources that can be recreated.
}


@end
以上就是本文的全部内容,希望对大家的学习有所帮助,也希望大家多多支持脚本之家。


最新评论