JavaScript实现跟随鼠标移动的盒子
更新时间:2021年01月28日 08:41:57 作者:搬砖大法
这篇文章主要为大家详细介绍了JavaScript实现跟随鼠标移动的盒子,文中示例代码介绍的非常详细,具有一定的参考价值,感兴趣的小伙伴们可以参考一下
本文实例为大家分享了JavaScript实现跟随鼠标移动的具体代码,供大家参考,具体内容如下
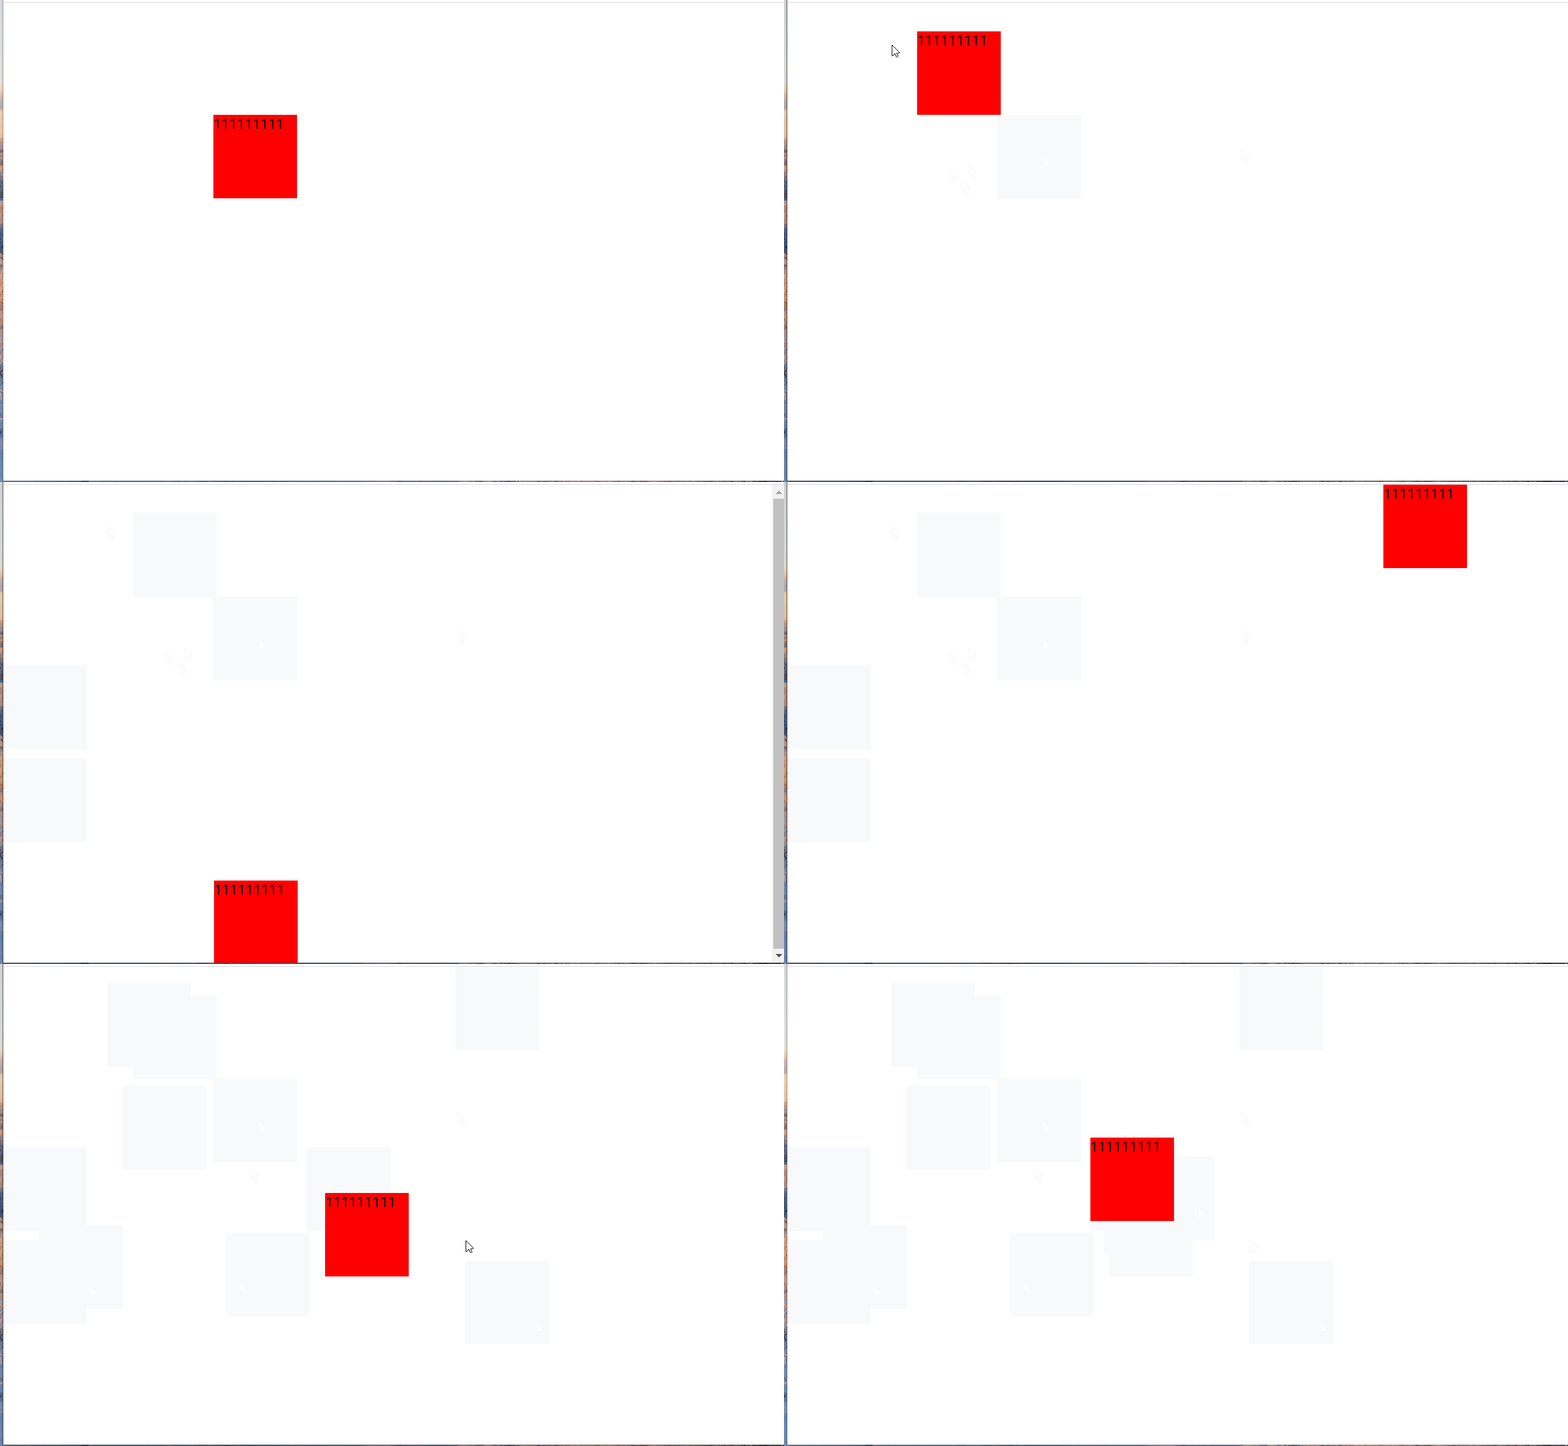
跟随鼠标移动的盒子(包括检测边界值)
效果图:

代码:
<!DOCTYPE html>
<html lang="en">

<head>
  <meta charset="UTF-8">
  <meta name="viewport" content="width=device-width, initial-scale=1.0">
  <title>Document</title>
</head>
<style>
  div {
    position: absolute;
    top: 0px;
    left: 0px;
    width: 100px;
    height: 100px;
    background-color: red;
  }
</style>

<body>
  <div>111111111</div>
  <script>
    var div = document.getElementsByTagName('div')[0];
    div.onmousedown = function(e) {
      e = window.event || e;
      // 鼠标按下 获取鼠标距离页面左侧距离
      var x = e.clientX;
      // 获取鼠标距离页面上侧距离
      var y = e.clientY;
      // 元素距离页面左侧距离
      var elex = div.offsetLeft;
      // 元素距离页面上侧距离
      var eley = div.offsetTop;
      // 相减得到鼠标距离元素的距离
      var X = x - elex;
      var Y = y - eley;
      console.log(X, Y);
      document.onmousemove = function(e) {
          e = window.event || e;
          // 鼠标移动过程中 获取鼠标距离页面距离
          var movex = e.clientX;
          var movey = e.clientY;
          // 1.左侧边界值
          // 元素移动过程中距离页面左侧距离
          var leftx = movex - X;
          var lefty = movey - Y;
          // 1.左侧边界值
          if (leftx <= 0) {
            leftx = 0;
          }
          // 2.上侧边界值
          if (lefty <= 0) {
            lefty = 0
          }
          // 3.右侧边界值
          // 页面可视区宽 -元素宽
          var rightx = document.documentElement.clientWidth - div.offsetWidth;
          if (leftx >= rightx) {
            leftx = rightx
          }
          // 4.下侧边界值
          // 页面可视区高 -元素高
          var righty = document.documentElement.clientHeight - div.offsetHeight;
          if (lefty >= righty) {
            lefty = righty;
          }
          // 鼠标移动过程中 获取鼠标距离页面距离 - 鼠标距离元素的距离 =元素的left top值
          div.style.left = leftx + 'px';
          div.style.top = lefty + 'px';


        }
        // 抬起清除移动事件
      document.onmouseup = function() {
          document.onmousemove = null;
        }
        // 阻止默认事件
      return false;

    }
  </script>
</body>

</html>
以上就是本文的全部内容,希望对大家的学习有所帮助,也希望大家多多支持脚本之家。
相关文章

js判断手机是否安装并打开app,未安装则安装app【兼容Android、ios,亲测可用】
这篇文章主要介绍了js判断手机是否安装并打开app,未安装则安装app,通过调用浏览器判断app,兼容Android、ios等系统,,需要的朋友可以参考下2023-05-05


最新评论