nginx结合openssl实现https的方法
在未使用SSL证书对服务器数据进行加密认证的情况下,用户的数据将会以明文的形式进行传输,这样一来使用抓包工具是可以获取到用户密码信息的,非常危险。而且也无法验证数据一致性和完整性,不能确保数据在传输过程中没被改变。所以网站如果有涉及用户账户等重要信息的情况下通常要配置使用SSL证书,实现https协议。
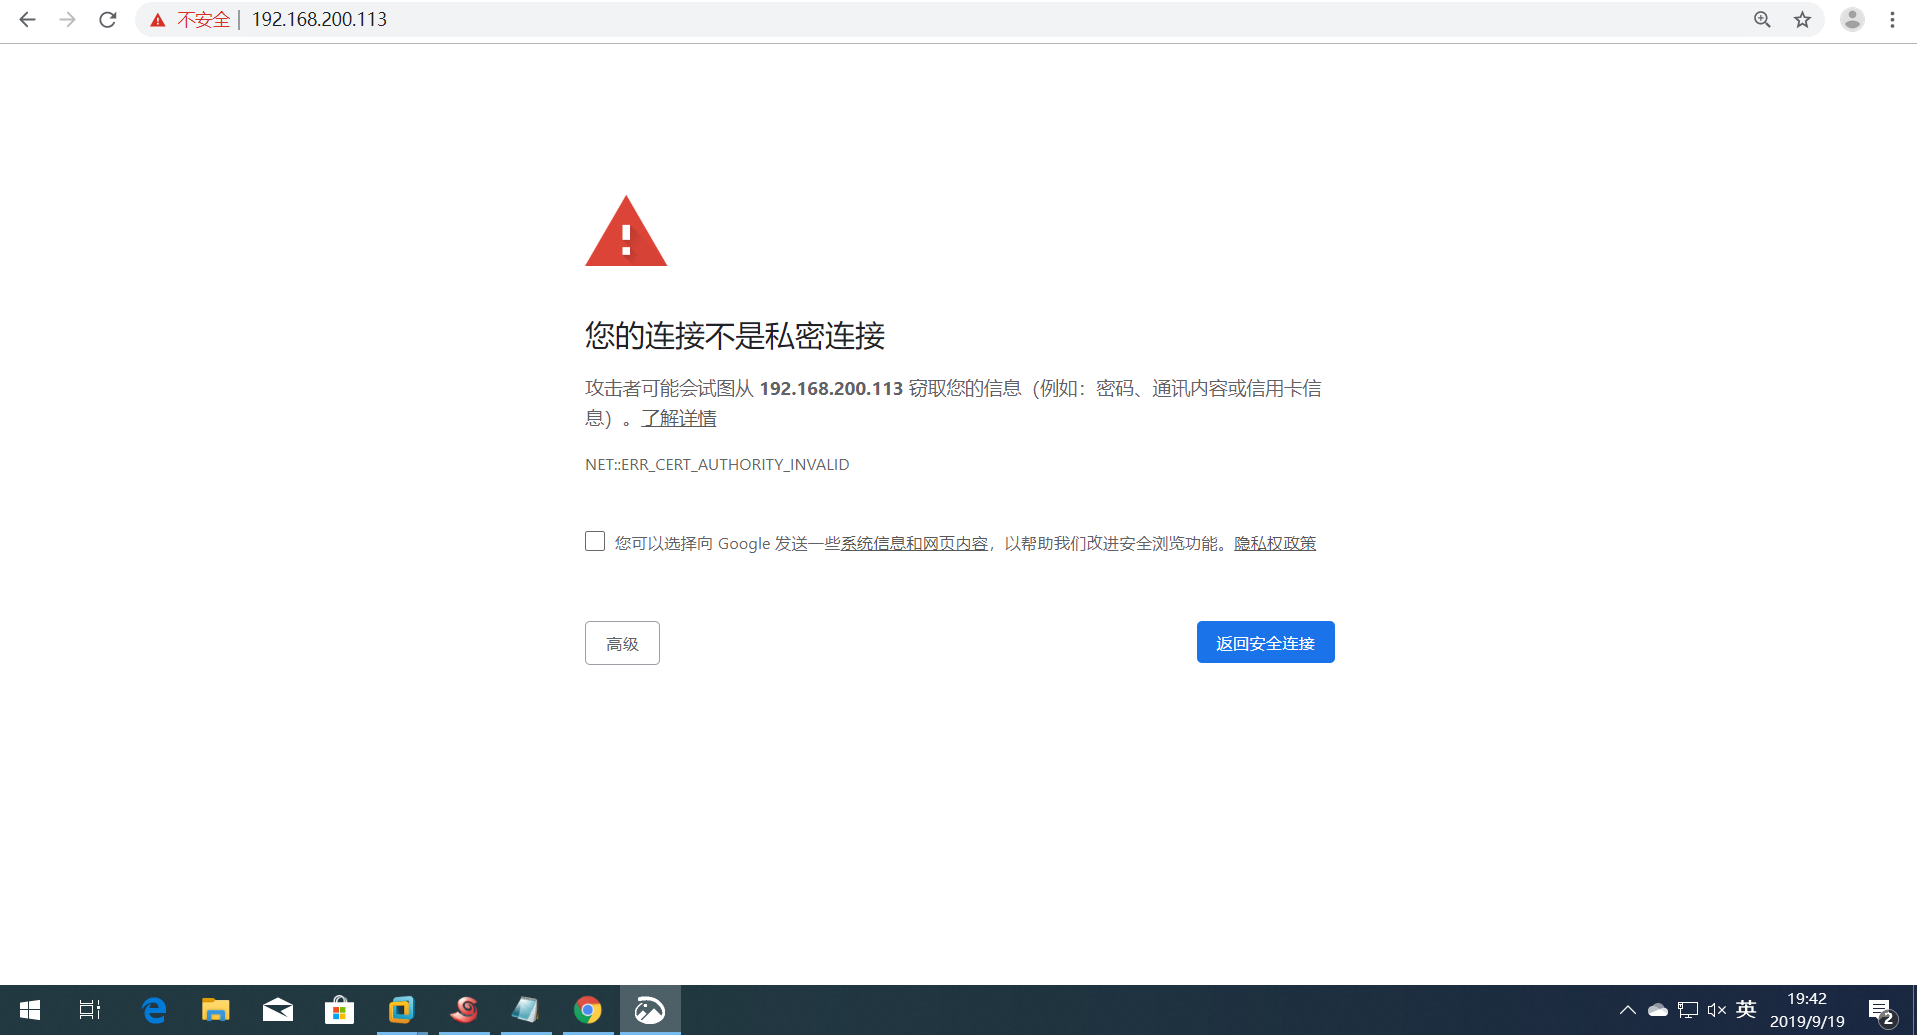
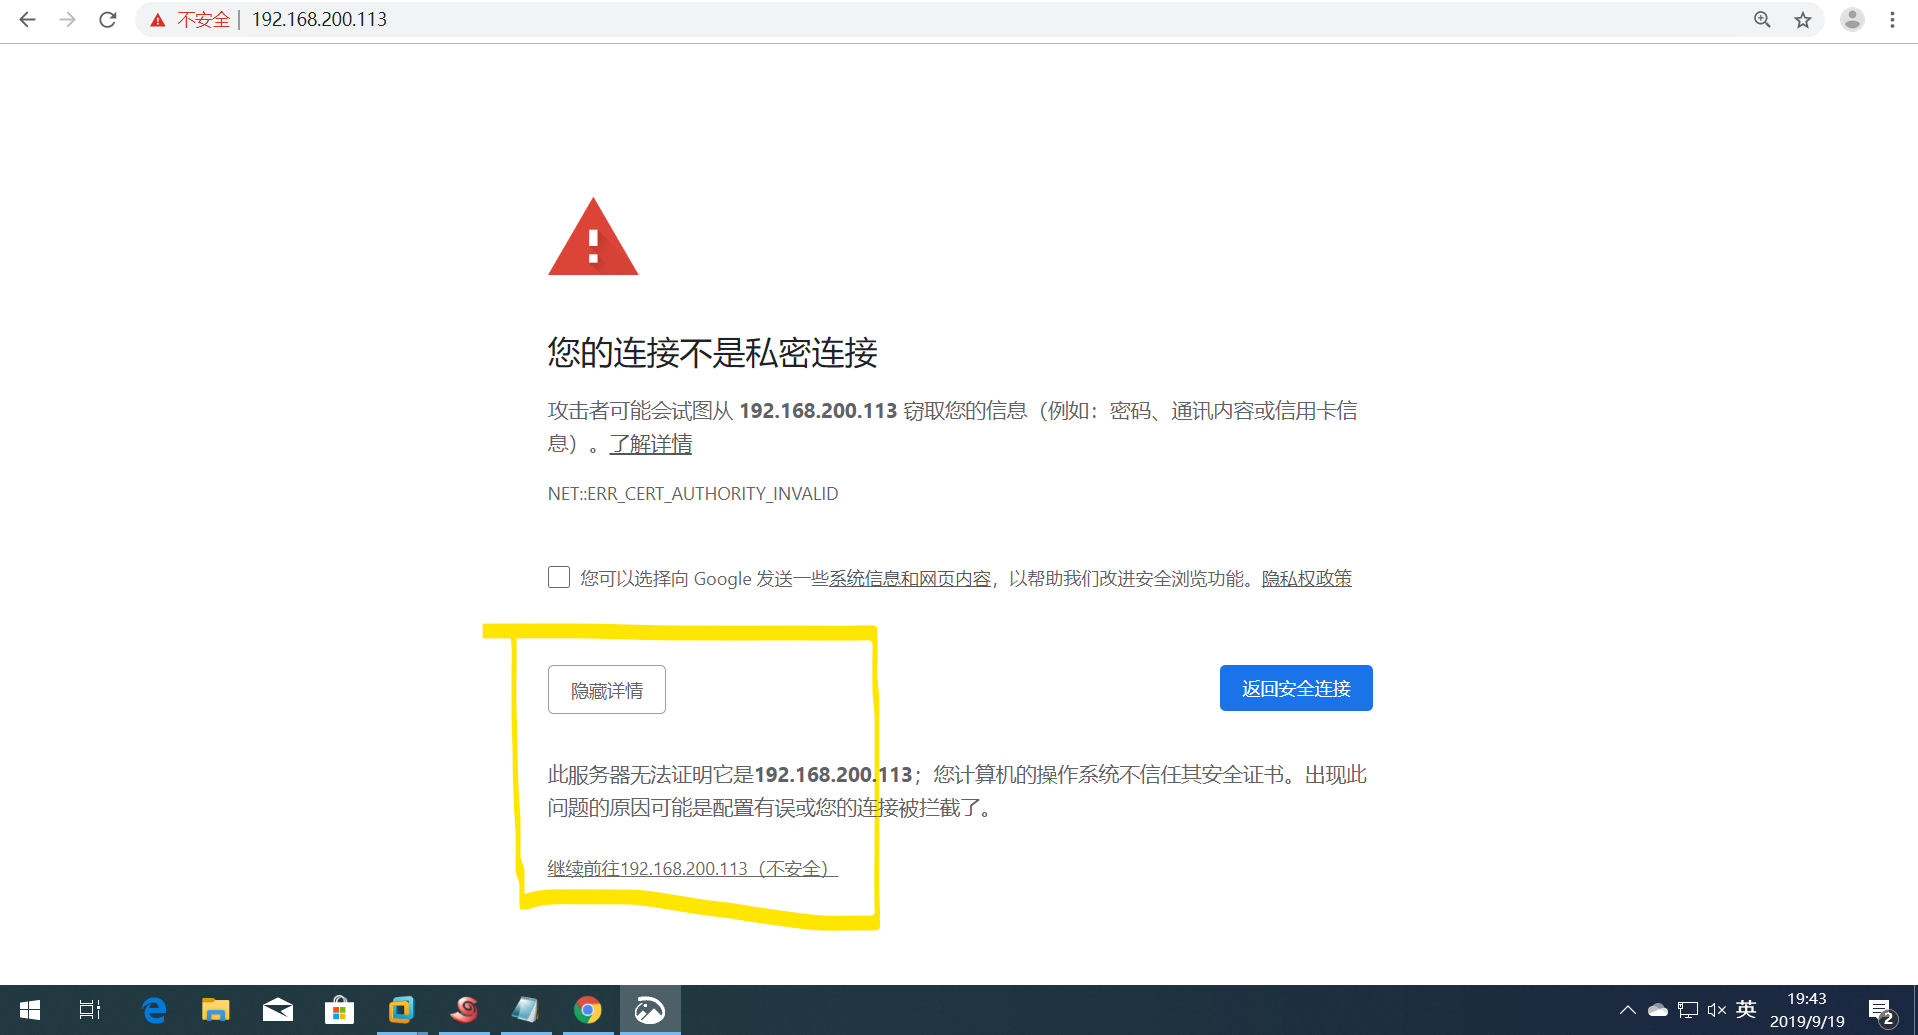
在生产环境中的SSL证书都需要通过第三方认证机构购买,分为专业版OV证书(浏览器地址栏上不显示企业名称)和高级版EV(可以显示企业名称)证书,证书所保护的域名数不同也会影响价格(比如只对www认证和通配*认证,价格是不一样的),且不支持三级域名。测试中可以自己作为证书颁发机构来制作证书,浏览器会显示为红色,代表证书过期或者无效,如果是黄色的话代表网站有部分连接使用的仍然是http协议。
不管使用哪种方法,在拿到证书后对Nginx的配置都是一样的,所以这里以搭建OpenSSL并制作证书来进行完整说明
一、准备环境
1)nginx服务
2)ssl模块
[root@ns3 ~]# systemctl stop firewalld
[root@ns3 ~]# iptables -F
[root@ns3 ~]# setenforce 0
[root@ns3 ~]# yum -y install pcre zlib pcre-devel zlib-devel
[root@ns3 ~]# tar xf nginx-1.16.0.tar.gz -C /usr/src/
[root@ns3 ~]#cd /usr/src/nginx-1.16.0
[root@ns3 ~]#./configure --prefix=/usr/local/nginx --user=nginx --group=nginx --with-http_stub_status_module --with-http_ssl_module --with-http_flv_module --with-http_gzip_static_module&&make && make install #后续需要的模块一次性安装
3)检测openssl是否安装
[root@ns3 ~]# rpm -qa openssl 2 openssl-1.0.1e-42.el7.x86_64
若没有安装
[root@ns3 ~]# yum -y install openssl openssl-devel
二、创建根证书CA
1、生成CA私钥
[root@ns3 ~]# cd zhengshu/
[root@ns3 zhengshu]# openssl genrsa -out local.key 2048
Generating RSA private key, 2048 bit long modulus
...........................................................................................................................................................................................................................+++
............................................................................................................................................................................................+++
e is 65537 (0x10001)
[root@ns3 zhengshu]# ls
local.key
2、生成CA证书请求
[root@ns3 zhengshu]# openssl req -new -key local.key -out local.csr
You are about to be asked to enter information that will be incorporated
into your certificate request.
What you are about to enter is what is called a Distinguished Name or a DN.
There are quite a few fields but you can leave some blank
For some fields there will be a default value,
If you enter '.', the field will be left blank.
-----
Country Name (2 letter code) [XX]:CN  #国家
State or Province Name (full name) []:BJ   #省份
Locality Name (eg, city) [Default City]:BJ  #城市
Organization Name (eg, company) [Default Company Ltd]:
Organizational Unit Name (eg, section) []:test   #部门
Common Name (eg, your name or your server's hostname) []:test   #主机名
Email Address []:test@test.com  #邮箱

Please enter the following 'extra' attributes
to be sent with your certificate request
A challenge password []:wuminyan  #密码
An optional company name []:wuminyan  #姓名
[root@ns3 zhengshu]# ls
local.csr  local.key
req: 这是一个大命令,提供生成证书请求文件,验证证书,和创建根CA
 -new: 表示新生成一个证书请求
 -x509: 直接输出证书
 -key: 生成证书请求时用到的私钥文件
 -out:输出文件
3、生成CA根证书
这个生成CA证书的命令会让人迷惑
1.通过秘钥 生成证书请求文件
2.通过证书请求文件 生成最终的证书
 -in 使用证书请求文件生成证书,-signkey 指定私钥,这是一个还没搞懂的参数
[root@ns3 zhengshu]# openssl x509 -req -in local.csr -extensions v3_ca -signkey local.key -out local.crt
Signature ok
subject=/C=CN/ST=BJ/L=BJ/O=Default Company Ltd/OU=test/CN=test/emailAddress=test@test.com
Getting Private key
三、根据CA证书创建server端证书
1、生成server私匙
[root@ns3 zhengshu]# openssl genrsa -out my_server.key 2048
Generating RSA private key, 2048 bit long modulus
.................................+++
.........................................+++
e is 65537 (0x10001)
[root@ns3 zhengshu]# ls
local.crt  local.csr  local.key  my_server.key
2、生成server证书请求
[root@ns3 zhengshu]# openssl x509 -req -in local.csr -extensions v3_ca -signkey local.key -out local.crt
Signature ok
subject=/C=CN/ST=BJ/L=BJ/O=Default Company Ltd/OU=test/CN=test/emailAddress=test@test.com
Getting Private key
[root@ns3 zhengshu]# openssl genrsa -out my_server.key 2048
Generating RSA private key, 2048 bit long modulus
.................................+++
.........................................+++
e is 65537 (0x10001)
[root@ns3 zhengshu]# openssl req -new -key my_server.key -out my_server.csr
You are about to be asked to enter information that will be incorporated
into your certificate request.
What you are about to enter is what is called a Distinguished Name or a DN.
There are quite a few fields but you can leave some blank
For some fields there will be a default value,
If you enter '.', the field will be left blank.
-----
Country Name (2 letter code) [XX]:CN
State or Province Name (full name) []:BJ
Locality Name (eg, city) [Default City]:BJ
Organization Name (eg, company) [Default Company Ltd]:
Organizational Unit Name (eg, section) []:test
Common Name (eg, your name or your server's hostname) []:test
Email Address []:test@test.com

Please enter the following 'extra' attributes
to be sent with your certificate request
A challenge password []:wuminyan
An optional company name []:wuminyan
[root@ns3 zhengshu]# ls
local.crt  local.csr  local.key  my_server.csr  my_server.key
3、生成server证书
[root@ns3 zhengshu]# openssl x509 -days 365 -req -in my_server.csr -extensions v3_req -CAkey local.key -CA local.crt -CAcreateserial -out my_server.crt
 Signature ok
 subject=/C=CN/ST=BJ/L=BJ/O=Default Company Ltd/OU=test/CN=test/emailAddress=test@test.com
 Getting CA Private Key
四、配置nginx支持SSL
[root@ns3 ~]# vim /etc/nginx.cof      #这里设置了一个软连接:lln -s /usr/local/nginx/sbin/nginx /usr/local/sbin/
server {
        listen 80;
        listen       443 default  ssl;  #监听433端口
                keepalive_timeout 100;  #开启keepalive 激活keepalive长连接,减少客户端请求次数

                   ssl_certificate      /root/zhengshu/local.crt;   #server端证书位置
                   ssl_certificate_key  /root/zhengshu/local.key;   #server端私钥位置

                        ssl_session_cache    shared:SSL:10m;         #缓存session会话
                        ssl_session_timeout  10m;                    # session会话    10分钟过期

                   ssl_ciphers  HIGH:!aNULL:!MD5;
                   ssl_prefer_server_ciphers  on;

        server_name   test.com;
        charset utf-8;

        location / {
            root   html;
            index  index.html index.htm;
        }

    }
}
五、测试
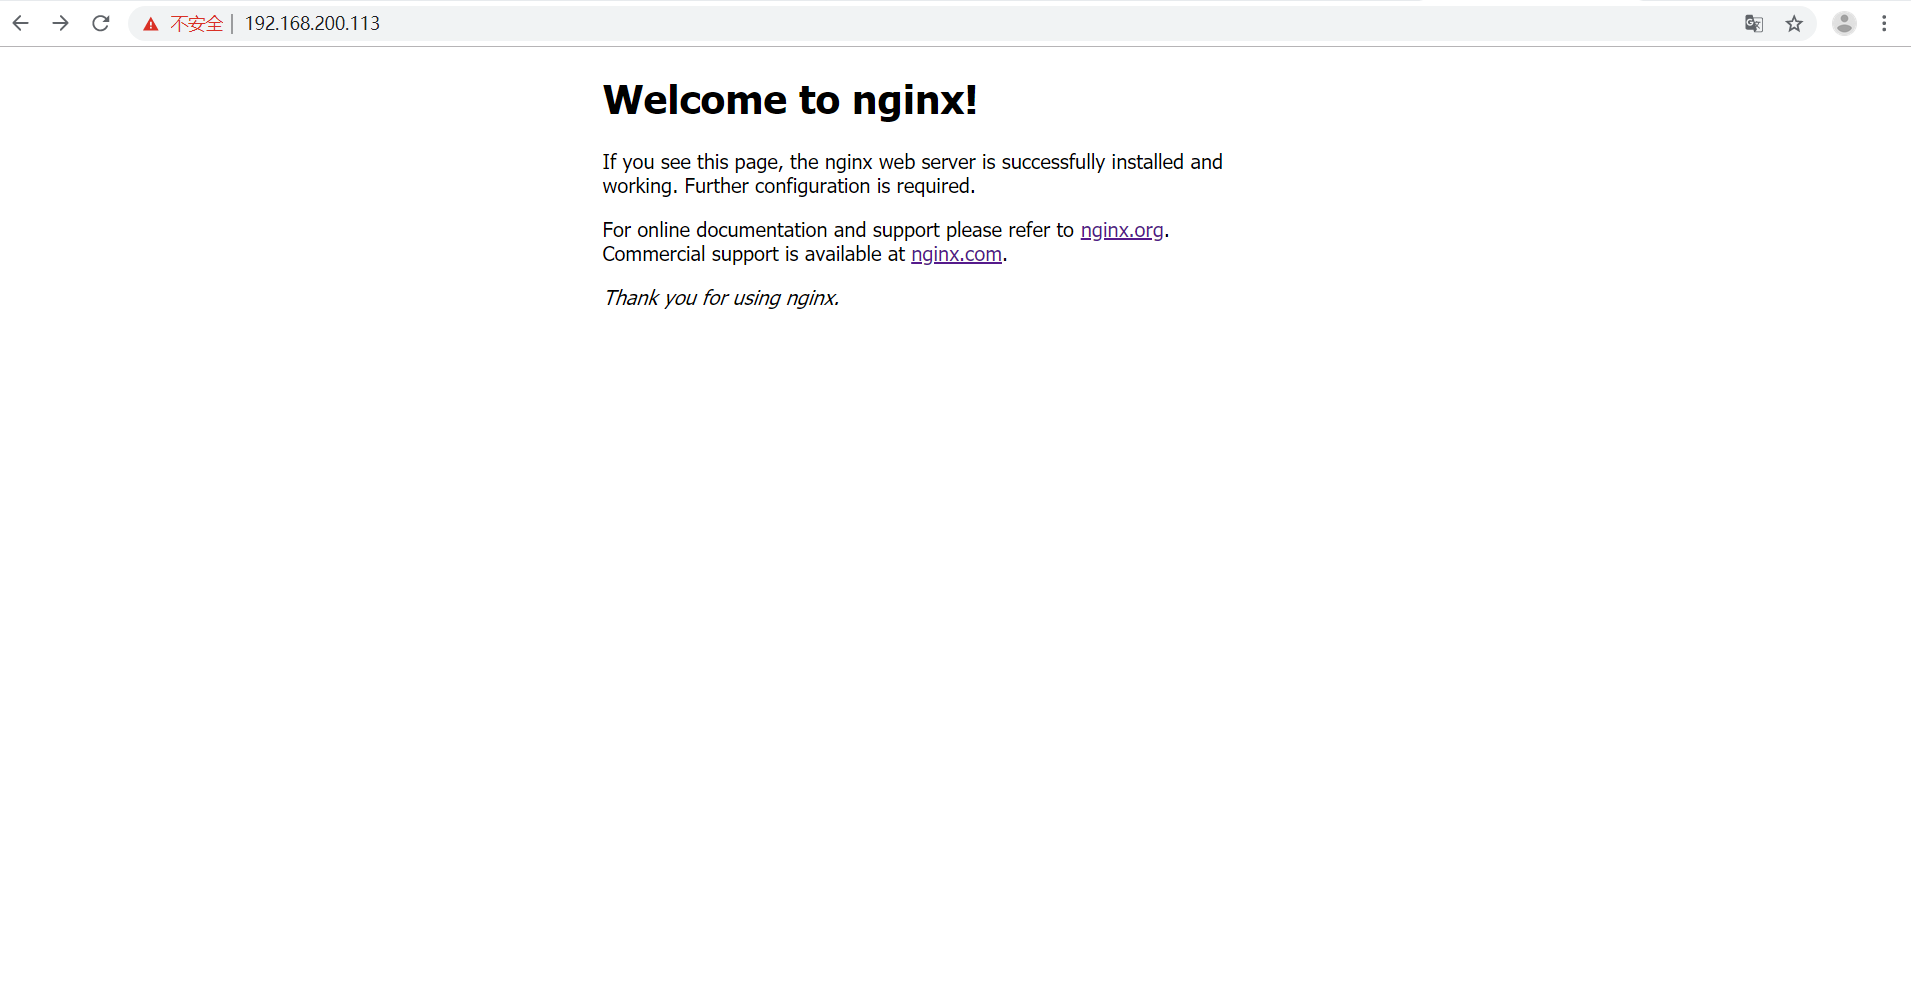
输入https://192.168.200.115


到此这篇关于nginx结合openssl实现https的文章就介绍到这了,更多相关nginx实现https内容请搜索脚本之家以前的文章或继续浏览下面的相关文章希望大家以后多多支持脚本之家!
相关文章

基于nginx实现上游服务器动态自动上下线无需reload的实现方法
这篇文章主要介绍了基于nginx实现上游服务器动态自动上下线无需reload,本文给大家介绍的非常详细,对大家的学习或工作具有一定的参考借鉴价值,需要的朋友可以参考下2021-02-02


最新评论