git通过内网代理访问外网的相关配置方法
更新时间:2023年05月10日 14:35:21 作者:codeRhythm
这篇文章主要介绍了git通过内网代理,访问外网的相关配置,配置git代理以http代理为例,给大家详细讲解,需要的朋友可以参考下
git通过内网代理,访问外网的相关配置
1 配置git代理(以http代理为例)
git config --global http.proxy http://<username>:<password>@<proxy.server.com>:<8080>
git config --global https.proxy http://<username>:<password>@<proxy.server.com>:<8080>
2 替换git协议为https协议
在有些企业的内网,由于git请求与ssh访问类似,防火墙会屏蔽git://协议的访问请求,如果git://无法访问,可尝试更换为https://协议
git config --global url."https://github.com/".insteadOf git@github.com:
git config --global url."https://".insteadOf git://
3 取消https协议的证书验证
在有些企业访问外网的代理,会强行把https的证书进行替换,导致https访问时,出现证书错误。如果想跳过证书错误,需要把git全局的证书验证关闭。
git config --global http.sslVerify false
补充:git设置代理
临时设置
打开 Git Bash,使用命令临时设定socks代理:
git config --global http.proxy 'socks5://127.0.0.1:socks5端口号'
git config --global https.proxy 'socks5://127.0.0.1:socks5端口号'
或者http代理:
git config --global http.proxy 'http://127.0.0.1:http端口号'
git config --global https.proxy 'https://127.0.0.1:https端口号'
永久设置
若想要设置代理永久生效,则可以把它写入 .gitconfig 文件中。
使用 vi 打开 .gitconfig 文件:
vi ~/.gitconfig
写入下列配置(建议在最末写入):
[http]
proxy = socks5://127.0.0.1:socks5端口号
proxy = http://127.0.0.1:http端口号
[https]
proxy = socks5://127.0.0.1:socks5端口号
proxy = https://127.0.0.1:http端口号
修改后重启 git ,使配置生效:
git config -l --global
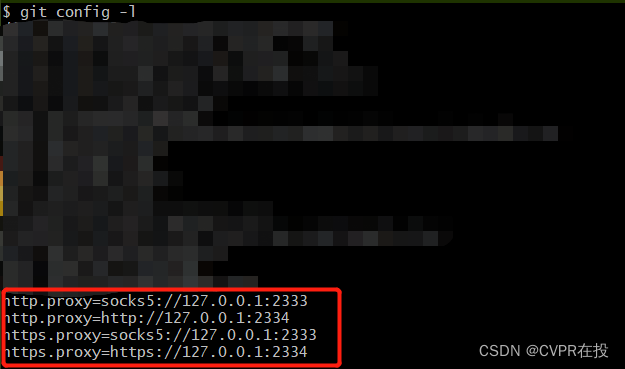
查看当前代理:
git config -l
可以看到自己所配置的端口信息,则说明配置成功。

到此这篇关于git通过内网代理,访问外网的相关配置的文章就介绍到这了,更多相关git内网代理访问外网内容请搜索脚本之家以前的文章或继续浏览下面的相关文章希望大家以后多多支持脚本之家!
您可能感兴趣的文章:


最新评论