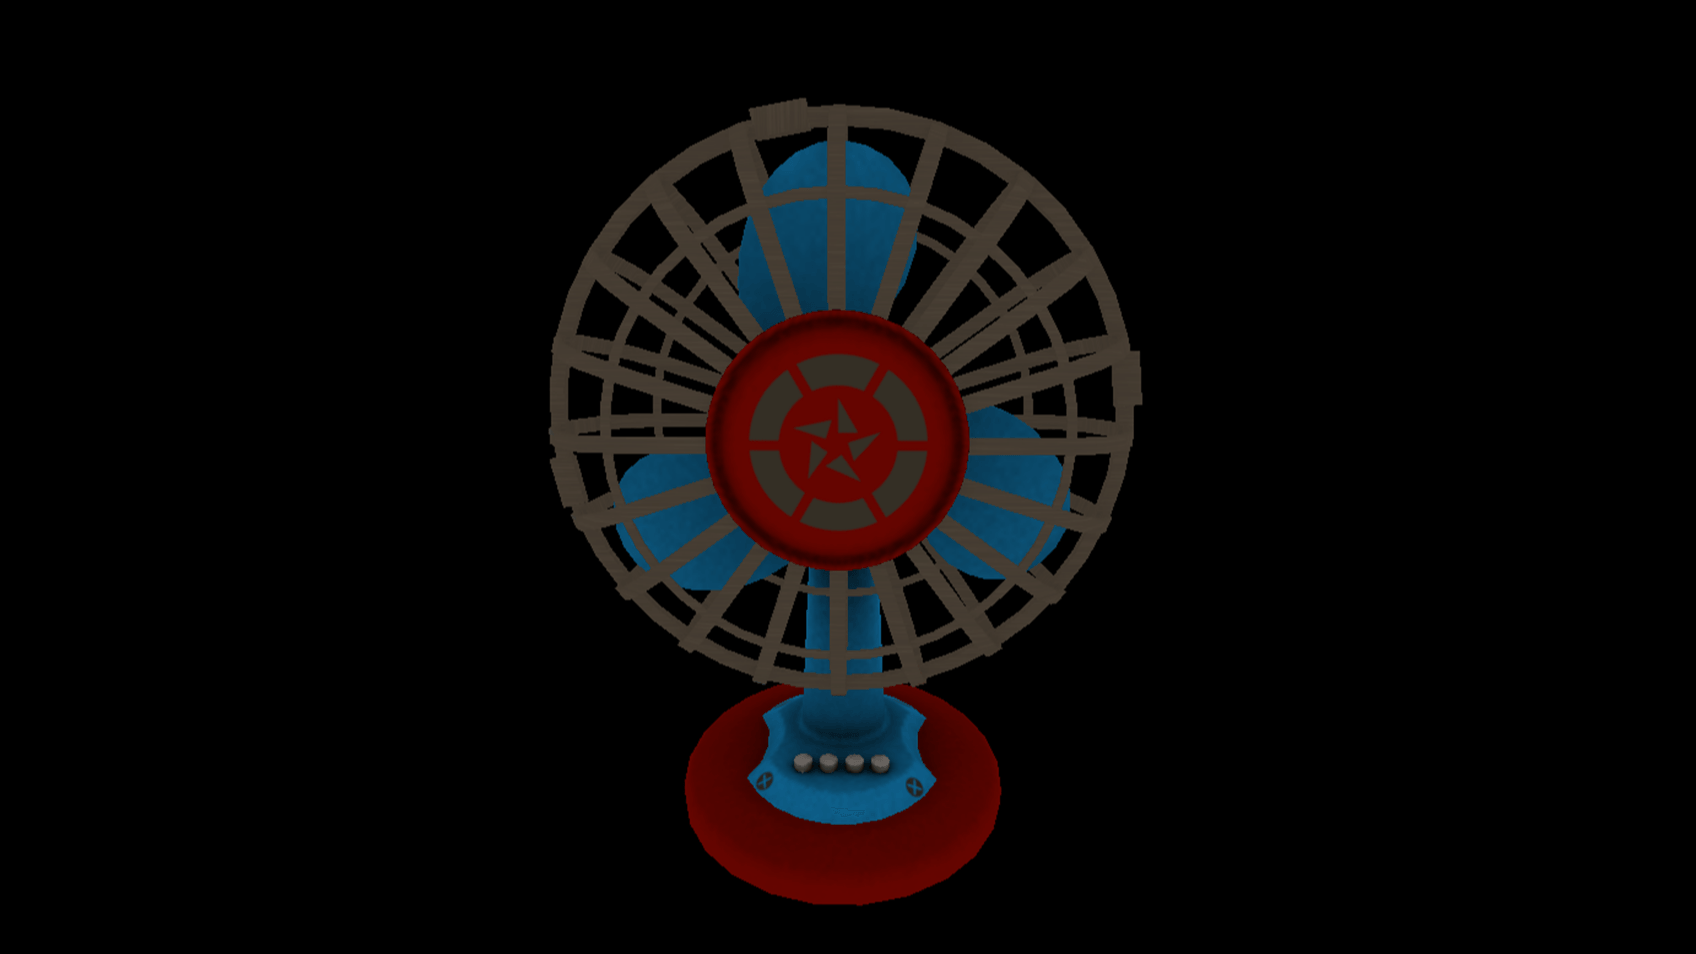
教你如何使用THREEJS实现一个可调节档位、可摇头的电风扇

夏天到了,用Three.js实现一个可以摇头和调节档位的电风扇。主要使用到Blender处理3D模型,用Vite+Typescript搭建项目框架。效果演示:
一、处理模型
1、从爱(bai)给(gei)网下载一个风扇的3D模型,在Blender中打开,给模型贴上图。

2、拆解模型。将风扇模型拆解成按钮、底座、扇叶、头部四个部分,其中按钮共五个,包括四个档位和一个摇头的开关。

3、导出模型。导出GLTF格式模型。

二、场景搭建
1、初始化场景
this.scene = new THREE.Scene();
/** 摄像机 */
this.camera = new THREE.PerspectiveCamera(75, this.sizes.width / this.sizes.height, 0.1, 100);
this.camera.position.set(0, 0.8, 1.8);
/** 灯光 */
this.lightPoint = new THREE.HemisphereLight(0xffffff, 0xffffff, 1 );
this.lightPoint.position.set(0, 500, 0);
this.scene.add(this.lightPoint);
/** 控制器 */
this.controls = new OrbitControls(this.camera, this.renderer.domElement);
this.controls.enableKeys = false;    // 禁用按键
this.controls.enableZoom = false;    // 禁用缩放
this.controls.enablePan = false;     // 禁用拖拽
this.controls.maxPolarAngle = 1.3;   // 最大垂直旋转角度
this.controls.minPolarAngle = 1.3;   // 最小垂直旋转角度
this.controls.target = new THREE.Vector3(0, 0.8, 0);
2、加载模型
import { GLTF, GLTFLoader } from 'three/examples/jsm/loaders/GLTFLoader';
var gltf: GLTF = await new Promise((resolve, _) => new GLTFLoader().load('./fan.glb', gltf => resolve(gltf)));
this.scene.add(gltf.scene);
3、绑定风扇按钮
this.fan = new Fan(gltf);
/** 档位调节按钮 */
let btns: Array<[string, Level]> = [
	['Btn_1', Level.one],
	['Btn_2', Level.two],
	['Btn_3', Level.three],
	['Btn_4', Level.zero],
];
btns.forEach(([name, level]) => {
	let btn = gltf.scene.getObjectByName(name);
	if (btn) this.fan.btns.push(new LevelBtn(btn, level));
});
/** 摇头按钮 */
let btn = gltf.scene.getObjectByName("Shake");
if (btn) this.fan.btns.push(new ShakeBtn(btn));
三、功能实现
1、扇叶旋转
function update() {
	let leaf = this.obj.scene.getObjectByName("Leaf");
	let rotationY = leaf!.rotation.y + Math.PI/10 * this.speed;
	while(rotationY > Math.PI * 2) rotationY = rotationY - Math.PI * 2;
	leaf!.rotation.y = rotationY;
	requestAnimationFrame(() => update());
}
2、档位调节
import { gsap } from 'gsap';
function turnLevel(btn: LevelBtn) {
	if(btn.state == BtnState.down) return;
	this.btns.filter(item => item instanceof LevelBtn).forEach(item => item.up());
	btn.down();
	if(btn.level !== Level.zero) this.state = State.on;
	this.level = btn.level;
	gsap.to(this, 3, { speed: this.level });
}
3、左右摇头
let head = this.obj.scene.getObjectByName("Head");
let shake = this.obj.scene.getObjectByName("Shake");
let leaf = this.obj.scene.getObjectByName("Leaf");
let rotationZ = head!.rotation.z + Math.PI / 1000 * this.shakeDir;
if(Math.abs(rotationZ) > Math.abs(this.shakeRange)) {
	let shakeDir = this.shakeDir;
	setTimeout(() => {
		if(shakeDir == ShakeDir.left) this.shakeDir = ShakeDir.right;
		else if(shakeDir == ShakeDir.right) this.shakeDir = ShakeDir.left;
	}, 1000)
	this.shakeDir = ShakeDir.wait;
	rotationZ = Math.abs(this.shakeRange) * Math.abs(rotationZ) / rotationZ;
}
head!.rotation.z = rotationZ;
leaf!.rotation.z = rotationZ;
shake!.rotation.z = rotationZ;
四、最后
项目代码和演示地址:https://codesandbox.io/p/sandbox/threejs-mini-fans-dx6nm6
到此这篇关于使用THREEJS实现一个可调节档位、可摇头的电风扇的文章就介绍到这了,更多相关threejs可调节档位、可摇头的电风扇内容请搜索脚本之家以前的文章或继续浏览下面的相关文章希望大家以后多多支持脚本之家!
相关文章

微信小程序开发实现的选项卡(窗口顶部/底部TabBar)页面切换功能图文详解
这篇文章主要介绍了微信小程序开发实现的选项卡(窗口顶部/底部TabBar)页面切换功能,结合图文与实例形式详细分析了微信小程序选项卡切换相关操作实现技巧,需要的朋友可以参考下2019-05-05


最新评论